Table of Contents
1. What are warm season crops and what makes them special?
Warm season crops are marketable plants that thrive in warmer temperatures and longer daylight hours. These conditions coincide with a certain window of time during the year, mostly late spring through mid-fall. While these plants can tolerate temperatures upwards of 100 degrees F, it is the night temperature that initiates production and stabilization.
The core crop families
The core crop families that belong to the warm season crop category that you often see at the farmer’s market and on our website are mostly crops that produce fruit, tubers, or modified roots. The cool season crops produce marketable leafy greens, tap roots, bulbs, and stalks. The below is not exhaustive of all warm season crops.
Nightshades, Solanaceae (tomatoes, peppers, eggplants, potatoes, husk cherry, etc.)
Cucurbits, Cucurbitaceae (cucumbers, melon, squash, pumpkins, etc.)
Grass family, Poaceae (Corn, wheat, fescue, sorghum, buffalo grass, etc.) *Some grass family plants are cool season crops*
Legume family, Leguminosae (bush beans, soybeans, peanut, peas, locust trees, etc.)
Morning glory family, Convolvulaceae (sweet potatoes, yams)
Temperature Tolerance
But wait, cool season crops can still grow through the scorching summer, and warm season crops can still grow during cooler weather, right? Yes! It is temperature tolerance that differentiates the two.
Warm season crops cannot tolerate cooler temperature ranges and require consistent warmth to initiate three physiological stages that we so commonly equate to most warm season crops: flowering, fruit set, and fruit ripening. One method to use to track and manage the time it takes for these stages to occur is to calculate the growing degree days. You can find more details on how to find the growing degree days through Cornell’s resource website.
If temperatures never get over a certain point, or the window for warm temperatures is too short, warm season crops will not be able to initiate flowering, pollination, and therefore lose the ability to set fruit. Greenhouses have become paramount in colder climates to help supplement warmth and produce incredible fruit in places like Wyoming, Maine, and northern Canada.
2. Gathering your materials

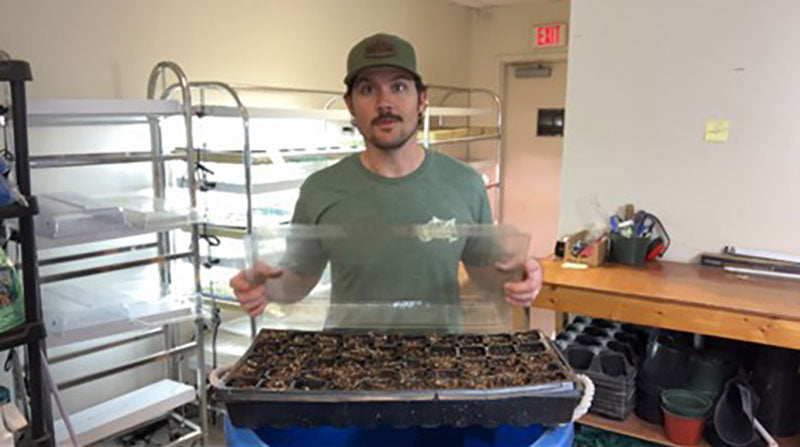
Time to gather your materials! Like starting cool season crops, a seedling tray with a bottom tray, saturated potting mix, dry potting mix, a watering can, seeds, and a humidity dome are necessary to start warm season crops. However, the main difference with warm season crops is the temperature required to initiate germination. Like how warmer temperatures are needed to initiate fruit set, a warmer temperature range is required to initiate germination.
We recommend using a 50 cell or 72 cell tray for starting any nightshade or cucurbit seeds as a wider diameter cell tray can accommodate a larger seedling more effectively.
Now let us dive into using a heat mat and discover more about the heat mats that Harris Seeds carries.
3. Getting to the right germination temperature with a heating mat
Warm season crops require a temperature range of 75-85 degrees F. to germinate well. Heat mats are a mechanical way to provide consistent warmth localized to the potting mix in your tray instead of trying to get your room to be 85 degrees F. consistently, or you could if that’s your thing! The heat mats sold at Harris Seeds can be a great tool for warm season crop germination. Here is the breakdown:
The controller for each of these heat mat systems allows you to vary the temperature from 40 to 100° F. in one degree increments as exact temperatures are the key to good seed germination. Plug the heat mats into the controller, place the copper probe in the soil, check the suggested soil starting temperature listed on each packet of Harris Seeds, and set the controller dial accordingly.
Use a power strip when adding more than two heat mats per controller. Each kit is completely safe and waterproof, and properly grounded. You can add up to 6 heat mats to this controller.
4. Imbibing Your Seeds

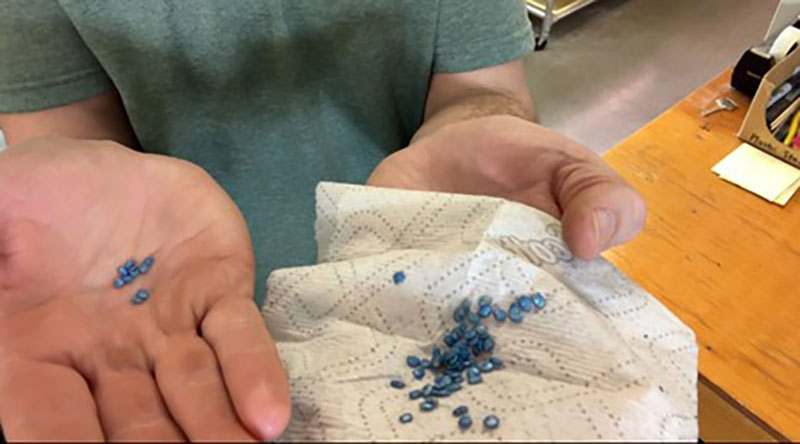
Imbibing is simply soaking your seeds before you plant them into your seeding tray. This process allows the grower and gardener to fast track a process called stratification. This process is not necessary for all crops, but it has been proven to be most effective for warm season crops, especially nightshades, cucurbits, and legumes.
Soaking the seeds for 12-24 hours before seeding causes the seed to swell and allows for easier and faster germination by breaking the seed coat (stratification).
A grower can imbibe seeds by soaking the seeds overnight inside a saturated paper towel inside a plastic bag. Other types of contraptions can be used, but it is good to build up humidity and maintain the moisture to the seeds.
5. Water and Everyday Care

After the imbibed seeds are planted into the seedling tray, a dusting of dry potting soil is applied on top, and a light watering can be done to water everything in.
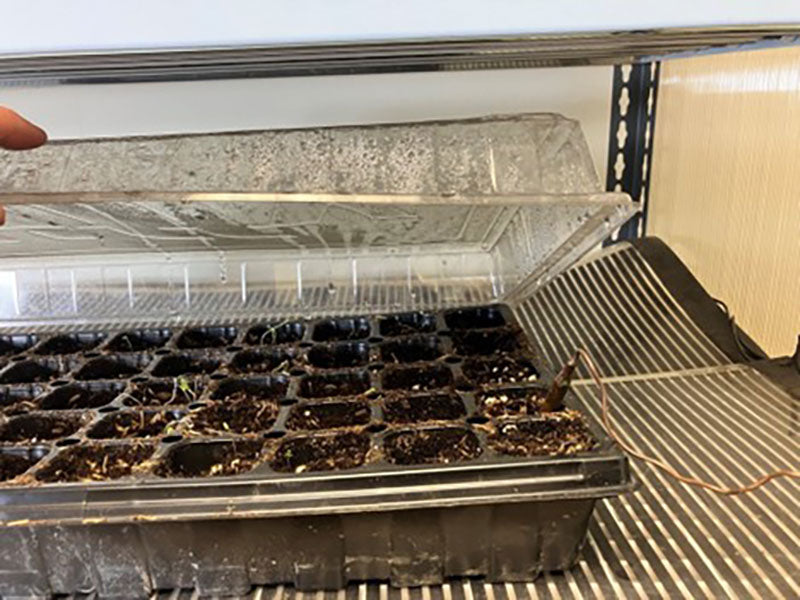
Place your tray on top of the heat mat, place the copper probe into one of the cells, and place the humidity dome on top.
Seeds in the nightshade family do not need light to germinate, so be sure to do quick research if the seeds you decide to start requires light to germinate. Pepper, tomato, and eggplant seeds can be placed on top of the heat mat, dialed up to 80 degrees, and in 7-10 days, will germinate.
Check on your tray for dryness and lightly water with a spray bottle if you notice the top of the soil in the cells start to dry out. You will notice significant condensation in the humidity dome, and that is a good thing! After 7-10 days you can move your tray under supplemental light or into your greenhouse.
Happy Planting!

Drew Hundelt
Product Manager & Content Specialist
Since stepping foot on his first urban farm in 2012, Drew found a passion that would eventually lead him here at Harris Seeds, Garden Trends Inc. Growing in multiple environments ranging from western New York to the bay area of California, and many environments in between, Drew has been and continues to build food production systems that yields food and community. Drew’s favorite projects so far in his career include carrying out a 12-acre trial of regenerative winter wheat production in western Pennsylvania and creating a horticultural program with three acres of market gardens, food forests, and greenhouses in the urban landscapes of Denver.


